Audio & Video Sync: Solutions When Auto-Sync Fails
Audio Video Sync: Practical Solutions When Auto-Sync Fails
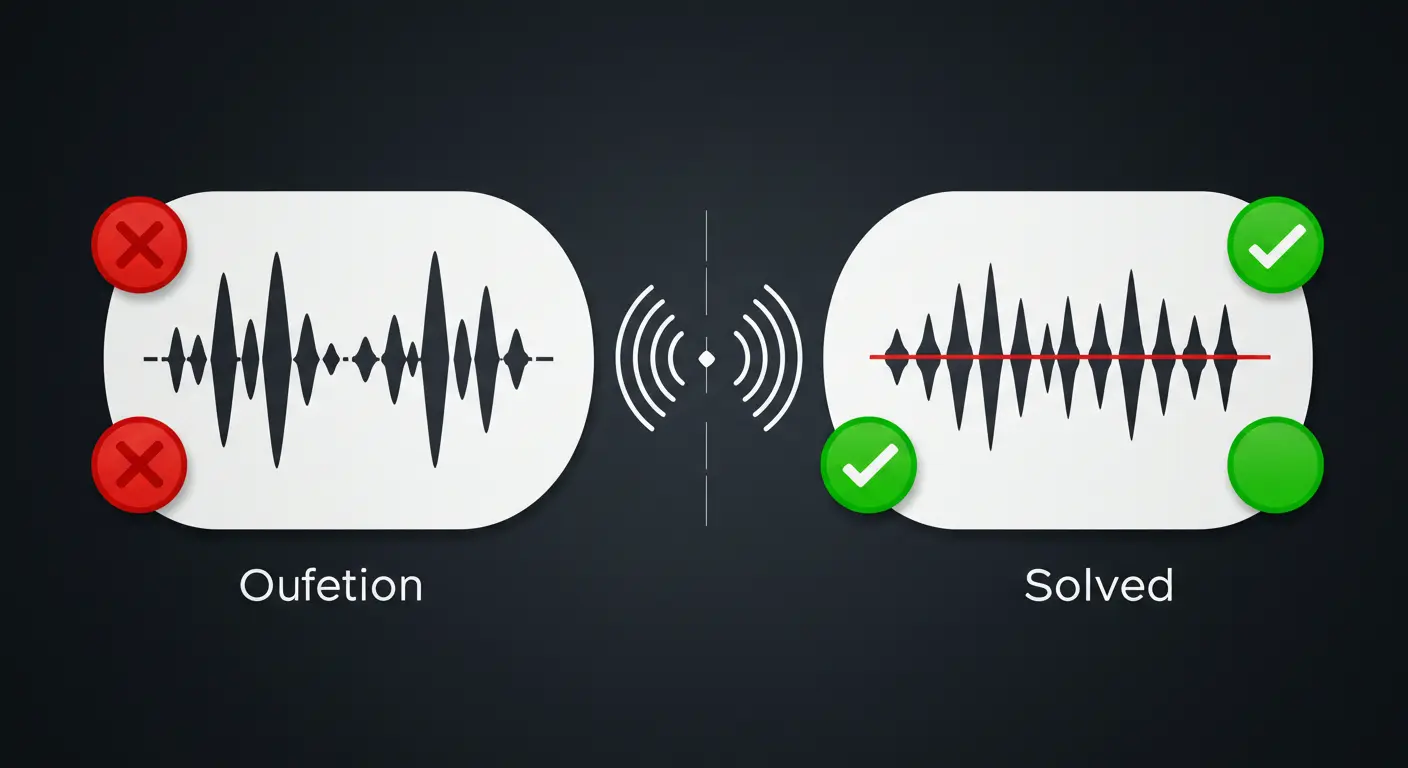
You’ve shot a multicam interview with external audio. You hit “auto-sync” and… nothing. The audio is out of sync. Don’t panic! VideoEditingPro shows you how to fix it.
Picture this scenario: You’ve recorded a multicam interview with high-quality external audio. You arrive at the edit suite, hit “auto-sync”… and nothing works. The audio and video are out of sync. This is more common than you think, and it has a solution!
The automatic tools in software like Premiere Pro or DaVinci Resolve are incredibly powerful and work perfectly most of the time by analyzing audio waveforms. But what happens when they don’t? At VideoEditingPro, we deal with all types of footage, and we know that sometimes technology needs a helping hand.
📋 Why Auto-Sync Fails (Check what applies to your situation)
When auto-sync fails, it’s not a software problem—it’s usually a production issue. We’ve learned to plan sync points during shooting and always have manual backup techniques ready. These skills have saved countless projects.
Manual Sync Methods: Our Professional Techniques

🎬 Solution #1: Manual Sync with Slate or Clap (The Classic Method)
If you were smart during pre-production and recorded a visible and audible slate or clap at the start of each take… you’re in luck!
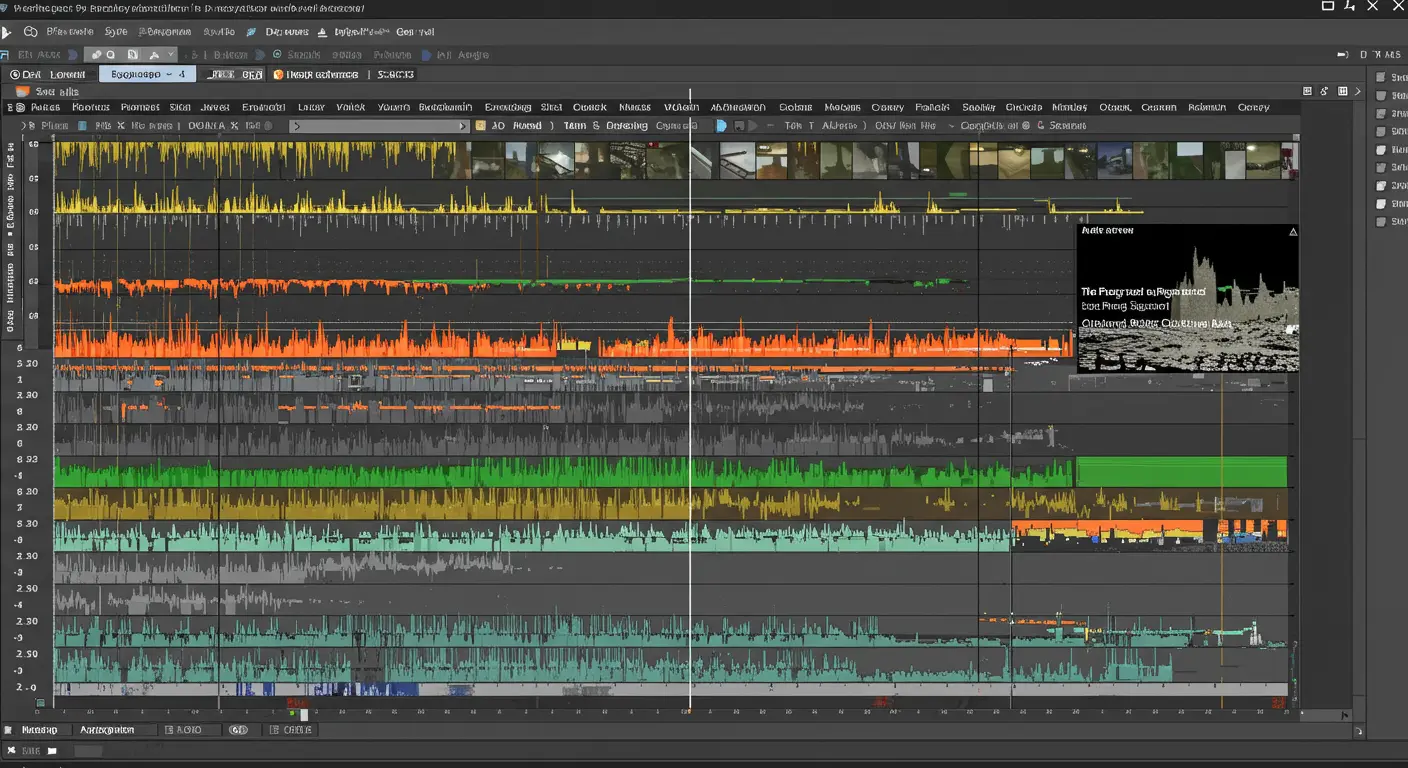
Put each video and audio track one above the other in your timeline.
In each audio track, look for the clear visual peak corresponding to the clap. In each video track, find the exact frame where hands meet or slate closes.
Move each clip horizontally until the playhead is exactly at the same point (audio peak and visual impact) on all tracks.
Play the sequence. Everything should be in sync! Once confirmed, group the clips or create your multicam clip.

🎤 Solution #2: Manual Sync by Dialogue Points
No slate? No problem! You can still sync manually, though it requires more patience.
Our Step-by-Step Process:
- Choose a Reference Point: Find a word with a “plosive” or strong consonant sound. “P”, “T”, “K”, “B” sounds are ideal because they create very clear, sharp waveforms.
- Find Same Point in Other Audio: Listen to reference audio tracks from other cameras and find exactly the same word.
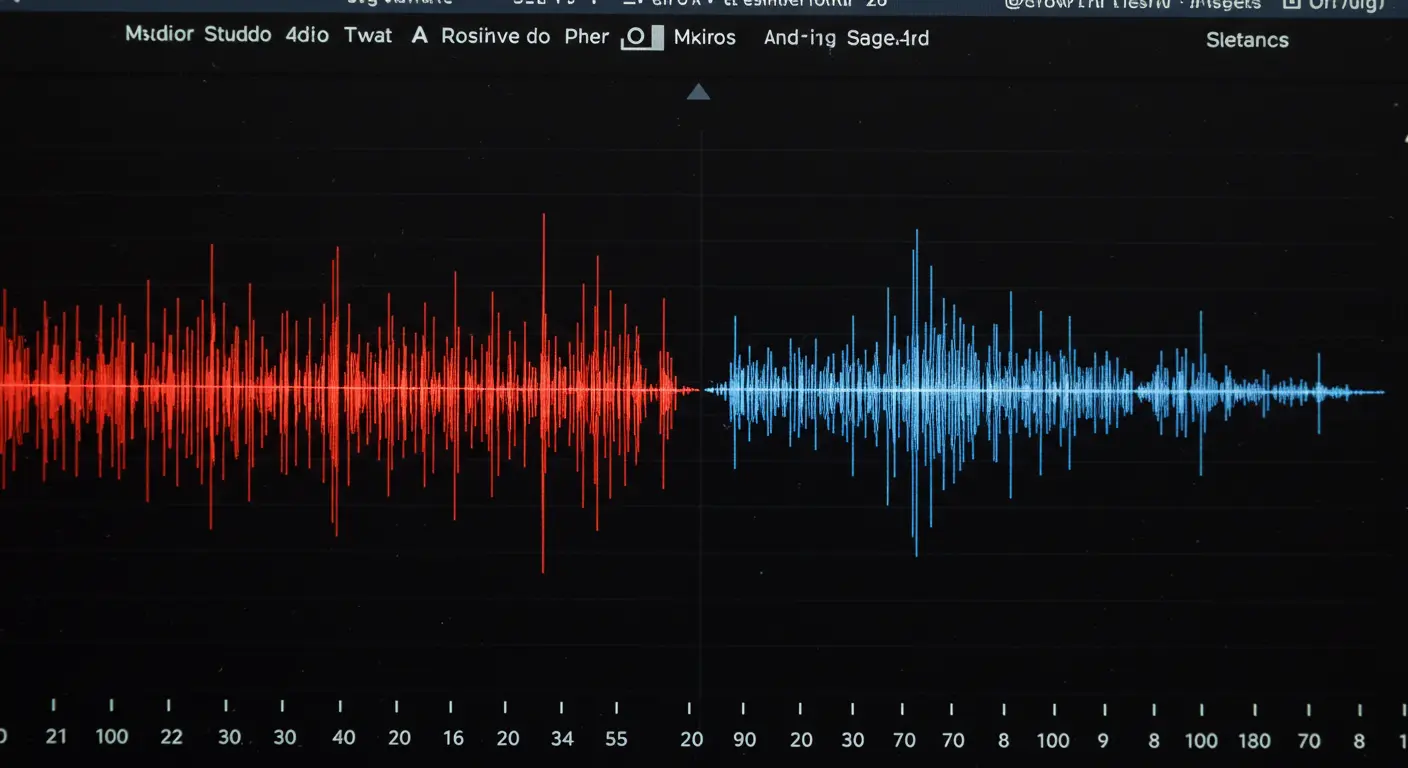
- Zoom Timeline: Zoom in maximum on your timeline to see audio waveforms in great detail.
- Align Waveforms: Move clips until the waveform of that plosive word is perfectly aligned across all tracks.
- Verify: Play and check for echo. If there’s slight echo, they’re not perfectly aligned. Adjust by moving a clip one frame forward or back until echo disappears.
This technique requires good ears and patience, but it’s extremely precise. It’s a fundamental skill we’ve used countless times to save projects. Look for hard consonants like “K” in words like “camera” or “cut”.

📍 Solution #3: Using Markers
This is a variation of the manual technique that can speed up the process.
Marker Workflow:
- Open each video clip separately in your source viewer
- Find your sync point (slate or key word)
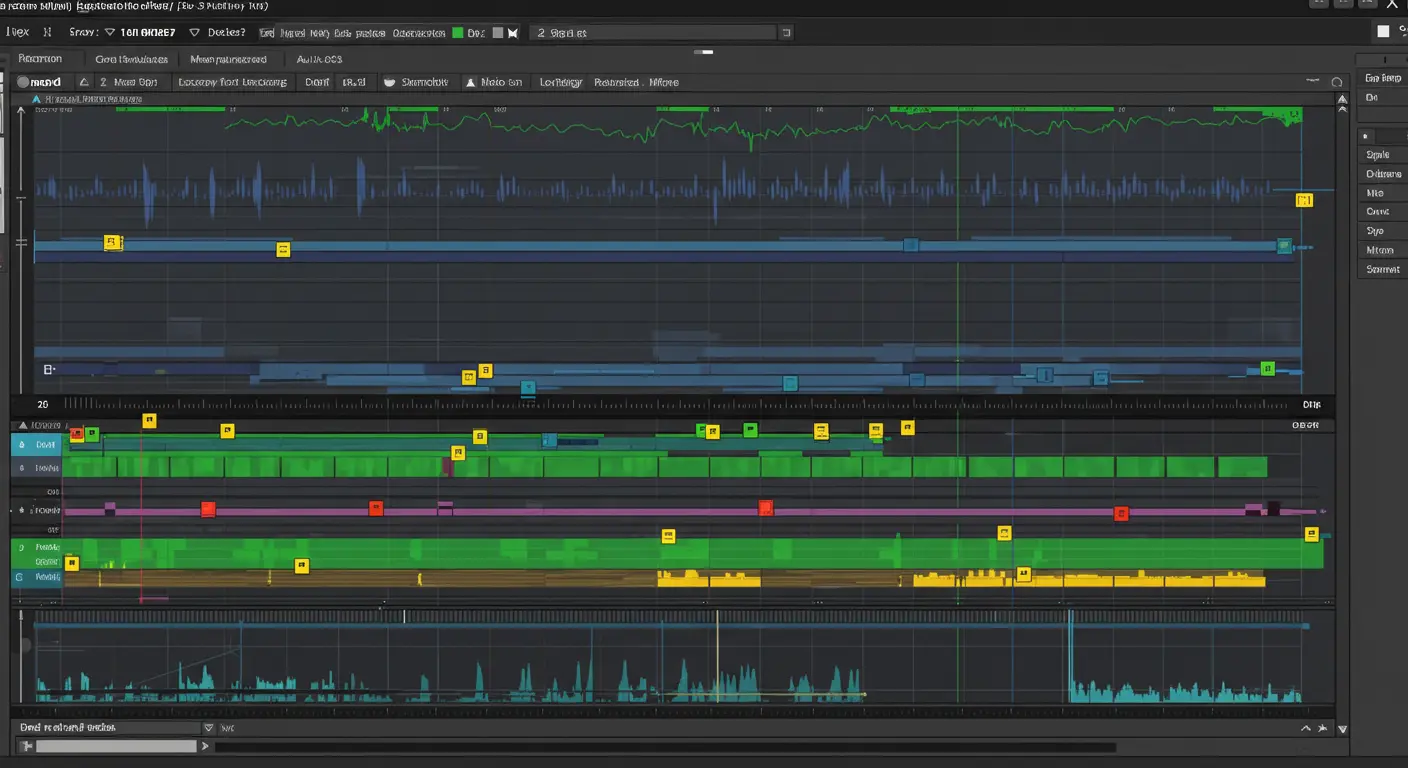
- Place a marker (M shortcut in most NLEs) at that exact point in each clip
- Select all clips in your project panel
- Use the create multicam sequence function and choose “Markers” sync option
The software will attempt to align all clips based on the markers you placed.

Advanced Tools & Techniques We Use

When We Use Them:
- 80% of our standard projects
- Clean audio with good reference
- Standard multicam setups
Our Preferred Settings:
- Premiere: Auto-analyze audio waveforms
- DaVinci: Audio + timecode when available
- Final Cut: Automatic with angle assembly
When We Recommend It:
- Documentary projects with 50+ clips
- Complex audio environments
- Multiple recorder devices
- Tight deadlines requiring speed
Why We Still Use It:
- Handles hundreds of clips simultaneously
- Advanced waveform analysis
- Integrates with major NLEs
⚠️ Audio Drift: The Hidden Problem
Sometimes clips sync at the beginning but gradually drift out of sync. This happens when:
- Cameras recorded at slightly different frame rates (29.97 vs 30fps)
- Internal clocks aren’t precise
- Recording devices have different crystal oscillators
Our Solution: Cut the drifting clip into sections and manually re-sync each part, or use advanced software tools that can “stretch” or “compress” audio to match.
🎯 VideoEditingPro Pro Tips for Perfect Sync
- Always record scratch audio: Even if you’re using external recorders, keep camera audio as backup
- Use consistent frame rates: Set all cameras to exactly the same fps setting
- Sync timecode when possible: Professional setups benefit enormously from synced timecode
- Create backup sync points: Clap not just at start, but also mid-interview if it’s long
- Monitor during recording: Check sync in camera playback before wrapping
Troubleshooting Common Sync Issues

🔧 Common Problems & Our Solutions
The best sync solution is planning during production. A simple clap at the beginning of each take can save hours in post. We always brief our camera operators on this during pre-production meetings.
Frequently Asked Questions – Audio Video Sync
Audio drift occurs when two clips that were synced at the beginning gradually go out of sync over time. This can happen if cameras recorded at slightly different frame rates (29.97 vs 30fps) or if their internal clocks aren’t precise. The solution is usually to cut the drifting clip into several sections and manually re-sync each part, or use advanced software tools that can “stretch” or “compress” audio to match.
It’s very difficult. Audio sync is the most common method. If there’s no audio, your only option is visual sync (using a slate or very clear, visible action movement that’s obvious in both cameras). This is why we always recommend recording scratch audio on all cameras, even when using external recorders.
Try manual sync with a slate or clap if you have one. If not, look for the first clear plosive word in the dialogue (“pick”, “take”, “camera”) and align the audio waveforms. Often, the software fails at the beginning of the clip, but once you manually align it at one point, the rest of the clip is usually in sync (unless there’s drift).
For most projects, native tools in Premiere Pro, DaVinci Resolve, or Final Cut Pro are sufficient and have improved dramatically. We recommend PluralEyes only for complex documentary work with many clips, or when you’re dealing with challenging audio environments where native tools consistently fail.
Frame-accurate. At 24fps, each frame represents about 42 milliseconds. Human ears can detect sync errors as small as 20-40ms, so even being off by one frame can be noticeable. This is why we always zoom in to the waveform level and align precisely to the sample, not just the frame.
Struggling with Sync Issues? Let VideoEditingPro Handle It
We know that failed sync can stop a project dead in its tracks. Our team has the experience and techniques to sync any type of footage, no matter how complex.
VideoEditingPro Sync Services Include:
- Manual frame-accurate synchronization
- Audio drift correction and repair
- Multicam sequence creation and optimization
- Backup audio extraction and enhancement
- Professional workflow setup for future shoots
- Quality control and verification
From manual frame-by-frame sync to advanced multicam workflows – Professional response in 24 hours


