Professional Video Editing Tips & Techniques for 2025
Professional Video Editing Tips & Techniques for 2025
Transform your ideas into captivating visual stories using professional techniques and advanced tools
Start Learning NowWhat is Professional Video Editing?
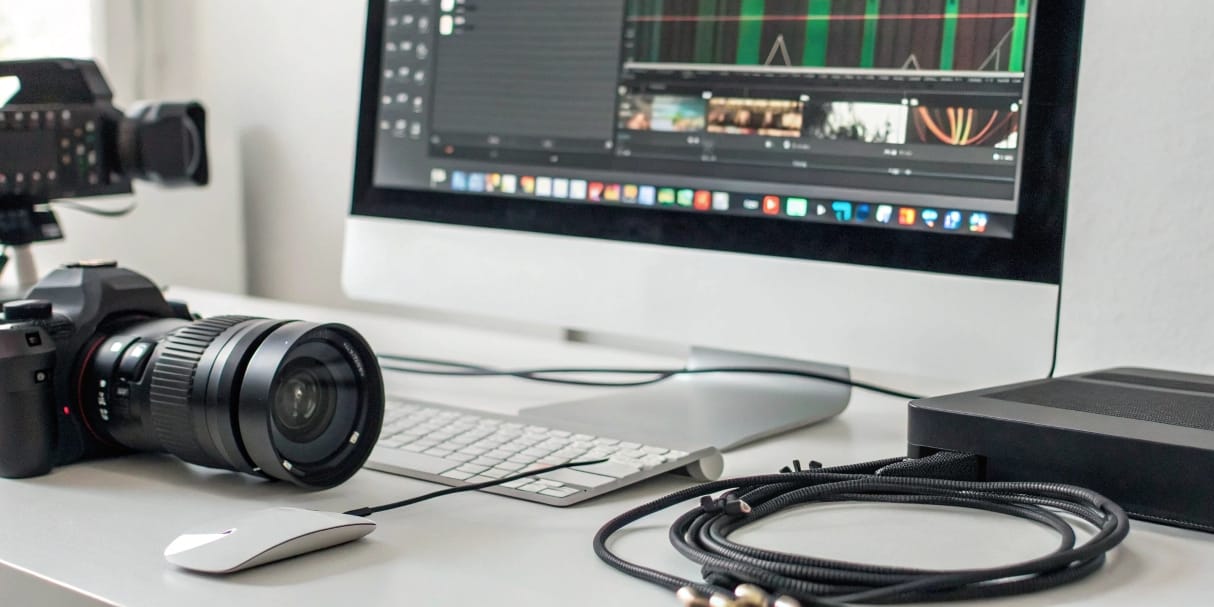
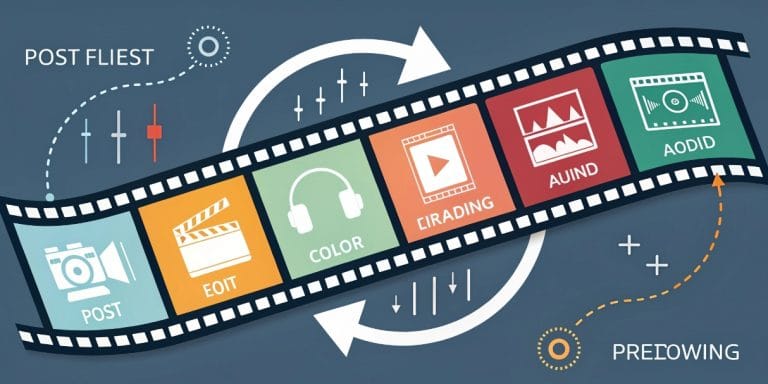
Professional video editing involves converting raw footage into coherent and engaging visual content. It’s a process that requires both technical skills and creative vision. Editors select clips, adjust pacing, and add effects to enhance the story.
✅ Key factors in professional editing
🤔 Industry Insight
Professional editing can reduce 10 hours of raw footage to 10 minutes of final content. The most important factor is attention to detail, not expensive software. Hollywood editors often work with the same tools available to everyone.
Choosing the Right Editing Software
Selecting the right software for professional video editing is fundamental. The variety of options can be overwhelming, but your project’s specific needs should guide your choice.
Software by Experience Level
🎬 DaVinci Resolve
Free and professional-grade. Excellent for beginners with built-in color grading. Used by Hollywood studios like Marvel and Netflix.
🎥 Filmora
User-friendly interface with pre-designed templates for quick projects. Perfect for YouTube content creators and social media.
🍎 iMovie
Perfect for Mac users seeking simplicity and quick results. Limited but effective for basic projects and learning fundamentals.
🎭 Adobe Premiere Pro
Industry standard with complete Creative Suite integration. Subscription-based model with regular updates and cloud features.
🎪 Final Cut Pro
Optimized for Mac with excellent performance and magnetic timeline. One-time purchase with professional features.
🎨 HitFilm Pro
Combines editing and visual effects in one application. Great value for money with professional-grade VFX capabilities.
🎞️ Avid Media Composer
Preferred by Hollywood for feature films and complex productions. Expensive but unmatched for large-scale projects.
🎬 DaVinci Resolve Studio
Complete suite: editing, color, audio, and visual effects. Best professional investment with lifetime license.
⚡ Adobe After Effects
Essential for motion graphics and complex visual effects. Perfect complement to any editing workflow.
Project Organization and Workflow
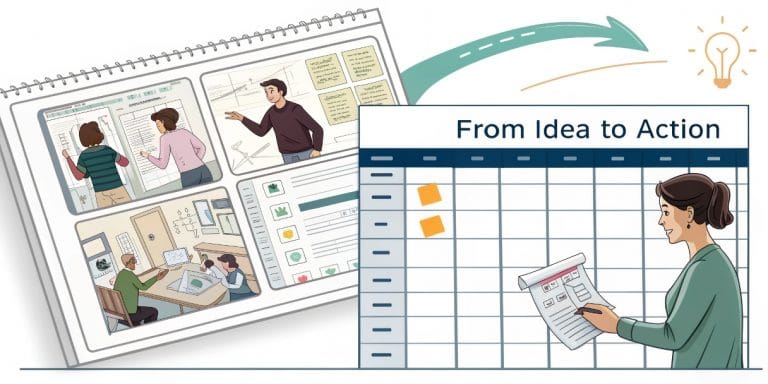
Organization is crucial for efficient professional video editing. Proper organization can save you 4-6 hours per project and prevent costly mistakes.
📂 1. Create folder structure
Basic structure: Project → Raw_Footage → Audio → Graphics → Exports → Backups
Use consistent naming across all projects
🏷️ 2. Consistent file naming
Recommended format: Project_Scene_Take_Date
Example: Documentary_Interview01_T1_20250612
💾 3. Automatic backup system
3-2-1 Rule: 3 copies, 2 different devices, 1 in the cloud. Auto-save every 30 minutes during editing sessions.
📋 4. Metadata and tags
Key information: Description, keywords, duration, quality settings, technical notes for each clip.
🧮 Project Time Calculator
Estimate how much time you’ll need for your project
Includes editing, color grading, audio mixing, and final export
Essential Professional Editing Techniques
Professional video editing requires specific techniques that distinguish amateur content from professional work. These techniques are used by editors in Hollywood and major streaming platforms.
✂️ Cut on action
Maintains movement fluidity between scenes. Cut when the subject is in motion to hide the transition. Used in 85% of Hollywood films.
🌊 Subtle transitions
Avoid flashy transitions that distract viewers. Golden rule: 90% straight cuts, 10% creative transitions.
📚 Layer organization
Organize elements in separate layers: base video, overlays, titles, audio tracks. Facilitates future corrections.
🎵 Audio synchronization
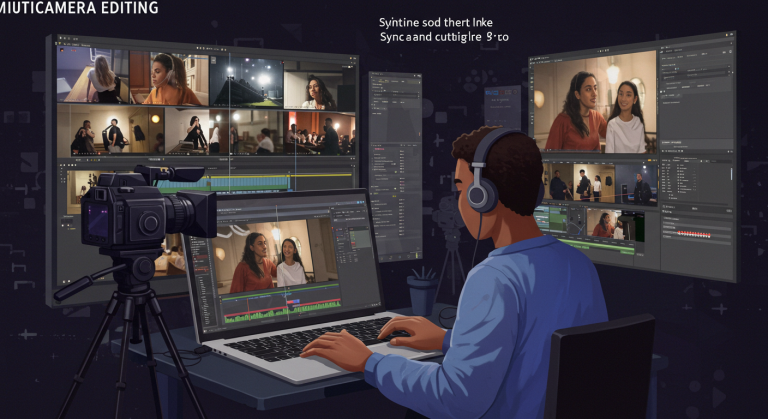
Use waveforms for perfect sync. 1-frame error = amateur video. Professional standard is sample-accurate sync.
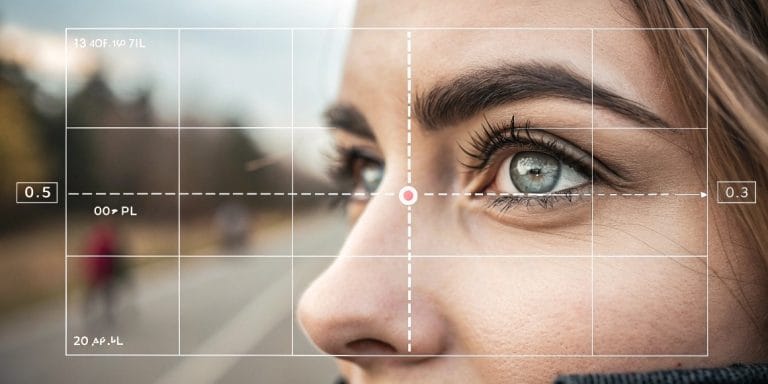
📐 Rule of thirds
Position important elements at guideline intersections. Improves visual composition by 300%.
⚡ Keyboard shortcuts
Master shortcuts to increase speed. Professional editors are 3x faster than beginners.
⚡ Essential keyboard shortcuts
Visual Storytelling and Pacing
Achieving effective visual storytelling is crucial for capturing viewer attention. The pacing determines whether your audience keeps watching or clicks away. Studies show viewers decide within the first 15 seconds.
🎵 Pacing and emotional elements
⚡ Action sequences
Quick cuts: 0.5-2 seconds. Sync with upbeat music. Example: Chase scenes in Fast & Furious franchise
😢 Dramatic scenes
Slow cuts: 3-8 seconds. Allow emotional processing. Example: Reflective moments in character dramas
🎼 Musical synchronization
Align cuts with beats: Increases emotional impact by 250%. Marvel editors are masters at this technique
😮 Surprise moments
Abrupt cut + silence: Creates maximum tension. Technique used in psychological thrillers and horror
🔍 Strategic close-ups
Facial expressions: At key moments for emotional connection. 70% of emotional impact comes from faces
⏰ Perfect timing
Delay revelations: Build anticipation. Hitchcock was the master of timing and suspense
🎬 Golden Rule of Pacing
The ideal duration for a cut in a dramatic scene is 3-6 seconds. Less = anxiety, more = boredom. This rule is used by 90% of professional Hollywood editors and is backed by neurological studies.
🎬 Classic narrative structure
Introduction (25%): Introduce characters and situation. Moderate pacing to establish context and world-building.
⚡ Development (50%)
Conflict and tension: Gradually accelerate pacing. Each scene should be more intense than the previous one.
🎯 Climax (15%)
Peak tension moment: Fastest pacing of the video. Dynamic cuts with intense music and sound design.
😌 Resolution (10%)
Denouement: Slow pacing to process events. Soft music and deliberate, thoughtful cuts.
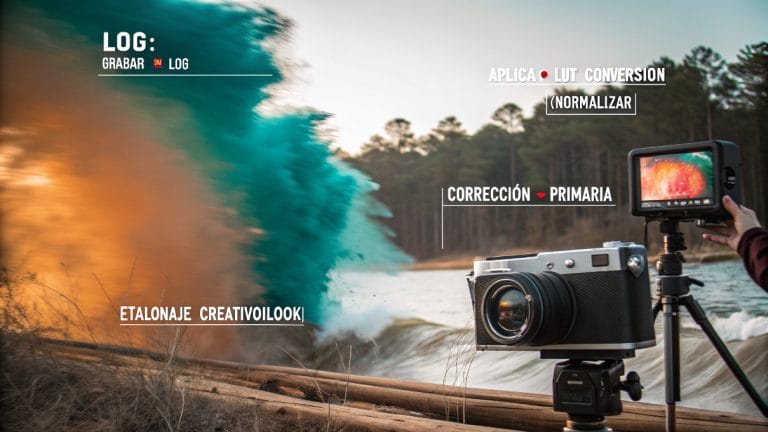
Color Grading and Color Correction
Color grading can transform amateur footage into cinematic content. It’s the difference between a YouTube video and a Netflix production. Professional colorists can earn $100,000+ annually.
🔧 1. Color correction (Technical foundation)
Objective: Balanced, natural image. Adjust exposure, contrast, highlights, and shadows. This is the foundation, not optional.
🎨 2. Creative color grading (Visual style)
Objective: Create mood and aesthetic. Apply LUTs or manual adjustments for desired look. Where visual magic happens.
🎯 3. Shot matching (Consistency)
Objective: Visual uniformity. All shots should appear from the same universe. Common mistake: each shot looks different.
✨ 4. Final touches (Polish)
Objective: Technical perfection. Adjust saturation, vignetting, and sharpening. Details that separate amateur from professional.
🎨 Professional color grading checklist
📊 Technical tools
Essential scopes: Histogram, Waveform, Vectorscope. Don’t trust only your eyes—monitors lie, scopes don’t.
🌡️ Color temperature
References: 3200K tungsten, 5600K daylight. Adjust for atmosphere: warm = cozy, cool = dramatic or clinical.
🎨 LUTs and presets
Proper usage: Only as starting point at 50% intensity. Always manually adjust afterward for perfection.
Audio Editing and Enhancement
Audio represents 60% of your video’s experience. Quality audio can save mediocre visuals, but poor audio will ruin even the best footage. Studies show viewers tolerate low-quality video but immediately abandon content with bad audio.
🔇 Noise reduction
Technique: Use noise reduction at 30-50% maximum. More = robotic voice. Adobe Audition has industry-leading algorithms.
📊 Professional audio levels
Standards: Dialogue -12dB to -18dB, music -20dB to -25dB, effects -15dB. These are Netflix broadcast standards.
🎵 Music selection
Golden rule: Music should complement, never compete with dialogue. Epidemic Sound offers the best royalty-free libraries.
🔊 Sound effects (Foley)
Application: Add immersion without overdoing it. Footsteps, ambience, breathing. 80% of audio’s emotional impact comes from Foley.
🎚️ Final mix
Process: Balance all elements and apply gentle mastering. Use limiter at -1dB to prevent distortion.
🔄 Perfect synchronization
Precision: Maximum 1-frame error tolerance. Use waveforms for exact alignment. Professional editors sync at sample level.
🎧 Professional audio checklist
🚀 Congratulations on completing this guide!
You’ve mastered the fundamentals of professional video editing. These techniques are used by Marvel editors, Netflix colorists, and YouTubers with millions of subscribers. Consistent practice is the only thing separating you from professional level.
Next step: Create your first project applying these techniques. The world needs to see your creativity!

