Selective Color: Edit Specific Colors (HSL, Masks)
You already know how to correct overall color and apply a general look using curves or LUTs. But what if you just want to tweak THAT red shirt, make the sky a deeper blue without affecting skin tones, or brighten ONLY the shadows in one corner? Welcome to the power of selective color!
We’ve come a long way in color correction—from primary adjustments and white balance to creative LUTs and fine-tuning with curves. Now it’s time to dive into secondary or selective color grading techniques. These tools allow you to isolate and adjust specific ranges of Hue, Saturation, and Luminance (HSL)—or even geographic areas of your image—without affecting the rest.
At EdicionVideoPro, selective color is a key part of our professional grading workflow. It’s what lets us keep skin tones perfect while stylizing the background, or make a specific product pop in a scene. Get ready for a much more surgical level of color control!
Why Use Selective Color? Beyond Global Adjustments
Global adjustments (color wheels, master curves) affect the entire image. Selective color gives you the power to:
- Protect Key Tones: Especially skin tones! You can give your scene a cool look while keeping skin warm and natural.
- Enhance or Soften Specific Elements: Make a logo stand out, boost a product’s color, or tone down a distracting object.
- Fix Isolated Issues: If only part of your image has a color cast or exposure problem.
- Unlock Creative Grading: Build more sophisticated, customized looks.
- Match Tough Colors: Like when a shirt’s color shifts slightly between shots due to lighting changes.
Core Tools for Color Selection
Most professional editing and grading software (DaVinci Resolve is the undisputed king here, but Premiere Pro and Final Cut Pro also have solid tools) offer the following:
1. HSL Qualifiers / Selectors (Hue, Saturation, Luminance)
This is the most common tool for selecting a specific color or color range. You define a range for:
- Hue: The color itself (red, green, blue, yellow, etc.). Pick the hue you want to affect.
- Saturation: Color intensity. You can isolate either highly saturated colors or dull ones.
- Luminance: Brightness. Target either dark or bright areas of a specific hue.
- Softness/Feather: Once your selection is made, you can soften the edges to blend the effect naturally with the rest of the image.
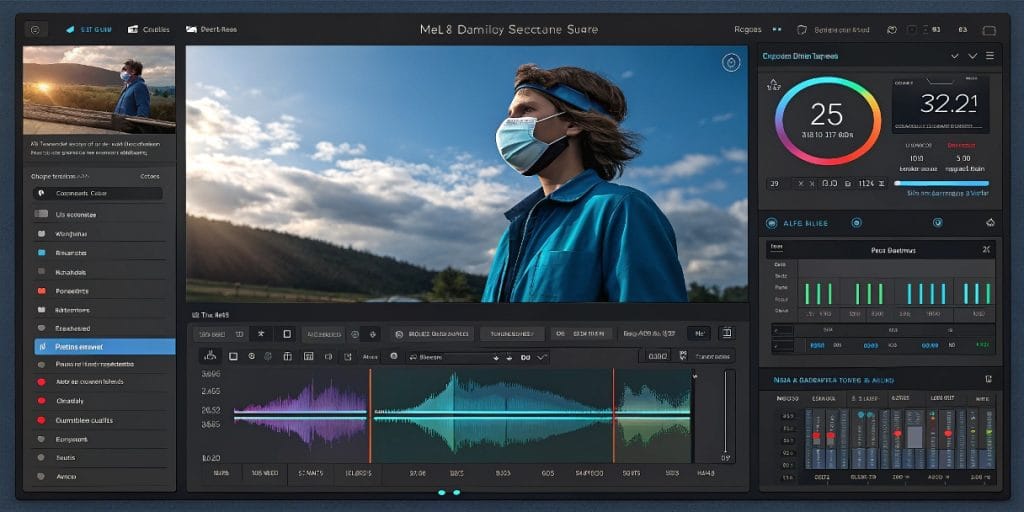
How It Works: Imagine you want to make the sky bluer. With HSL Qualifiers, you tell the software: “Select all the pixels within this particular shade of blue, with this saturation and luminance range.” Once selected (often called a “mask” or “key”), any color adjustment (brightness, contrast, hue shift) will apply ONLY to those pixels—leaving the rest untouched.
Example: Using HSL Qualifiers to select ranges of Hue, Saturation, and Luminance.
2. Geometric Masks (Power Windows, Shape Masks)
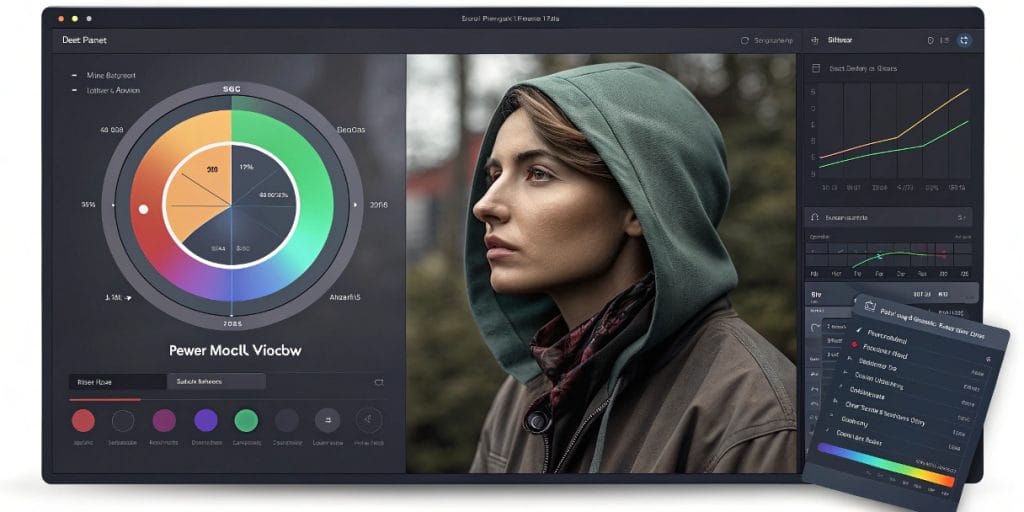
Instead of selecting by color, masks let you draw a geometric shape (circle, square, custom polygon, or freehand) around a specific area of your image. Any adjustment will only apply INSIDE (or sometimes OUTSIDE) that shape.
Common Uses: Brighten a face, darken a background to emphasize the subject, or change the color of a specific object with a defined shape.
Tracking: This is where it gets cool—if the person or object in your mask moves, most software lets you track that movement automatically, so the mask follows along.
Softness/Feather: As with HSL Qualifiers, you can feather the mask edges for more natural blending.
Example: Using Power Windows and Tracking for localized color corrections.
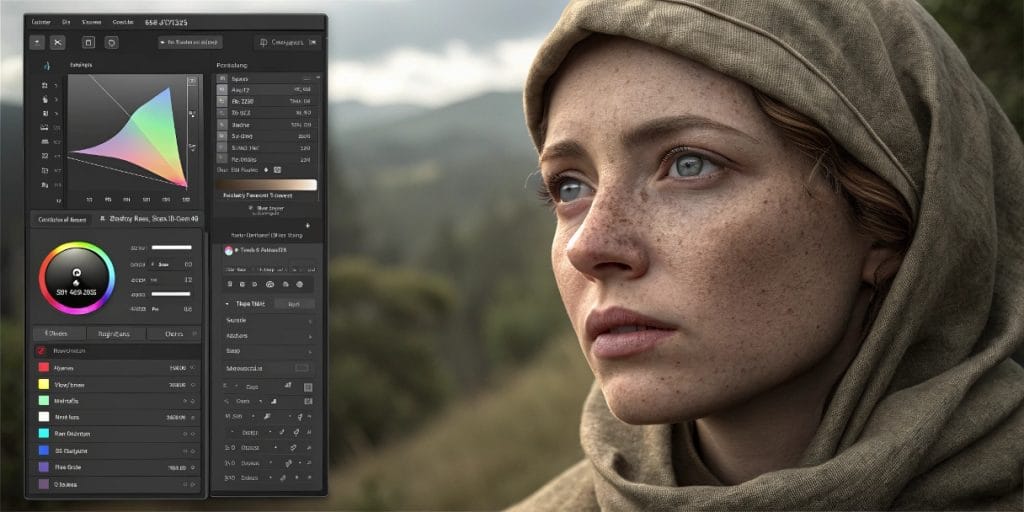
3. Combining HSL and Masks
The real magic happens when you combine both. For instance, you can mask a person’s face and THEN, within that mask, use an HSL Qualifier to adjust only skin tones.
A Basic Selective Color Workflow
Remember: This comes AFTER your primary color correction.
- Define Your Goal: What are you trying to achieve? Protect skin tones? Highlight a product? Change an object’s color?
- Create a New Node/Adjustment Layer: Always apply selective color adjustments in a separate node (in Resolve) or adjustment layer (in Premiere), so you don’t interfere with your primary grade and can toggle the effect on/off.
- Make Your Selection:
- With HSL Qualifiers: Use the eyedropper to sample the target color. Fine-tune your Hue, Saturation, and Luminance ranges until you’ve selected the desired area. Use “mask” or “highlight” view to check your selection. Apply feathering!
- With Geometric Masks: Draw your shape around the object. Adjust and feather the edges. If the object moves, apply tracking.
- Apply Your Color Adjustments: Once the selection is made, use your color tools (wheels, curves, sliders) to affect ONLY the selected area.
- Review and Refine: Look at the result in context. Does it look natural? Do the edges blend? Adjust your selection or color settings as needed.
EdicionVideoPro Tip: Selective color requires patience and a good eye. Start with subtle adjustments. Often, the best selective grades are the ones viewers don’t consciously notice—but that make the image feel more polished and impactful. If you’re working with LOG footage, you’ll have even more flexibility for fine-tuning.
Need Targeted Color Work That Makes Key Elements Pop?
At EdicionVideoPro, selective color is one of our go-to techniques for that final touch of polish and professionalism. We make every color count.
Creative and Practical Uses for Selective Color
- Color Pop: Desaturate everything except one color (think “Sin City” or “Pleasantville” effect). Use sparingly and only if it makes narrative sense!
- Enhance Skin Tones: Add warmth or saturation to make them look healthier—even if the rest of the scene has a cool tone.
- Change an Object’s Color: Didn’t like that shirt color? You might be able to change it—within limits.
- Match Skies: If your outdoor shots show sky color variations, you can selectively match them.
- Add Depth: Slightly darken or desaturate the background so your subject stands out more.
FAQ – Selective Color
What’s the best software for selective color?
DaVinci Resolve is widely considered the industry standard for color grading. Its Qualifiers and Power Windows are incredibly powerful and flexible. Adobe Premiere Pro (with Lumetri Color) and Final Cut Pro also have solid HSL and masking tools, though not as deep as Resolve.
Does mask tracking always work perfectly?
It depends on the complexity of the motion and the software. Sometimes automatic tracking is spot-on; other times, manual tweaking is needed (using keyframes). If the object changes shape a lot or gets occluded, it can get tricky.
Can I use selective color to “erase” an object?
Not directly. Color tools aren’t meant for that. To remove objects, you’d need VFX techniques like cloning, rotoscoping, or content-aware fill—typically done in After Effects or Fusion (inside Resolve).
The Power of Color Precision
Mastering HSL Qualifiers, masks, and selective color tools gives you unprecedented control over your image. It lets you go beyond global tweaks and start sculpting color with intention—protecting key elements, enhancing detail, and building personalized, cinematic looks.
It takes practice, but once you get the hang of it, your creative possibilities in color grading expand dramatically. Start experimenting—you’ll see the difference!
And if you’re looking for truly custom color grading where every tone is crafted to support your story, EdicionVideoPro delivers the expertise and artistry to make it happen.