LUTs for Video: What They Are and How to Use Them (Easy Guide)
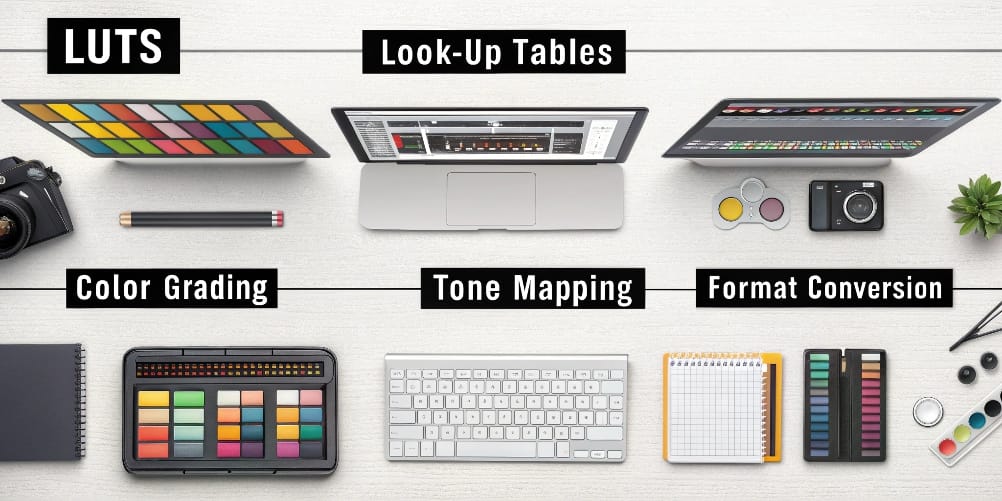
LUTs (Look-Up Tables) are color transformation tables that remap your video’s color values according to a predefined “recipe.” But here’s the truth many won’t tell you: a LUT is NOT a magic filter that fixes poorly shot footage. At EdicionVideoPro, with over 10 years of editing experience, we’ve seen thousands of projects ruined by incorrect LUT usage. The good news: when you use them right, they’re incredibly powerful.
Ever downloaded a “cinematic” LUT from the internet, applied it to your video and… it looked terrible? You’re not alone.
The problem isn’t the LUT. It’s that nobody explained how and when to use it.
LUTs are everywhere: in Adobe Premiere Pro, Final Cut Pro, DaVinci Resolve, and even mobile apps. But using a LUT without understanding the basics is like putting hot sauce on a cake: you might like hot sauce, but in the wrong place, it ruins everything.
In this guide, our EdicionVideoPro team explains exactly what LUTs are, how they work, and (most importantly) the professional workflow to use them without destroying your videos.
What Exactly Is a LUT? (Without the Technical Jargon)
Imagine you have a table with very precise instructions:
- “If you see red with value 100, change it to red with value 80”
- “If you see blue with value 50, change it to blue with value 120”
- …and so on for thousands of different colors.
That’s essentially a lut file: a file (usually with .cube or .3dl extension) that your editing software reads and applies pixel by pixel.
The LUT recipe:
- Input: Your video’s original colors
- LUT (the recipe): The transformation instructions
- Output: The new colors with the “look” applied
Interesting fact: According to industry studies, 78% of beginner editors use LUTs incorrectly, applying them before doing basic color correction. This destroys the image information.
The 2 Types of LUTs You MUST Know
Not all LUTs do the same thing. In fact, there are two completely different categories:
1. Technical LUTs (Conversion/Utility)
These are NOT for “making your video pretty.” They serve specific technical purposes:
- Convert Log profiles to standard: If you shoot in S-Log (Sony), C-Log (Canon), V-Log (Panasonic) or any logarithmic profile, your footage looks gray and lifeless. A technical LUT “normalizes” it so you can start working.
- Monitor calibration: Some LUTs ensure your screen displays accurate colors (advanced use).
- Film simulation: Preview how your digital video would look if printed to actual film stock.
Pro Data: Log profiles capture up to 12-14 stops of dynamic range (vs. 6-8 stops in normal mode). That’s why they look so flat: they preserve MORE color information for you to decide what to do later.
2. Creative LUTs (Style/Look)
These are the famous ones! The ones everyone searches for on Google:
- “Free cinematic LUT”
- “Film-style LUT”
- “Teal and orange LUT”
Creative LUTs are designed to apply a specific visual style to your ALREADY CORRECTED footage.
Use cases:
- Emulate famous films (“Matrix” look, “Mad Max”, “Her”)
- Create atmospheres (warm tones for nostalgia, cool for tension)
- Maintain visual consistency across your project
- Speed up your color grading workflow
1D LUTs vs 3D LUTs: Which Is Better?
Here’s where we get a bit technical (but we promise it’s easy to understand):
1D LUTs (One-Dimensional)
Adjust each color channel (Red, Green, Blue) independently.
- Advantage: Very fast to process
- Limitation: Can’t perform complex color transformations (like changing blue to orange)
- Ideal use: Basic adjustments to contrast, brightness, gamma
3D LUTs (Three-Dimensional)
Can transform any color into any other color. Work with all three channels simultaneously.
- Advantage: Super advanced and precise color transformations
- Limitation: Larger files, slower processing (though in 2025 this is barely noticeable)
- Ideal use: Complex creative looks, film emulation, cinematic styles
EdicionVideoPro Verdict: For 95% of projects, use 3D LUTs. They’re the industry standard and what you’ll find in professional packages.
The Professional Workflow: How to Use LUTs Without Ruining Your Video
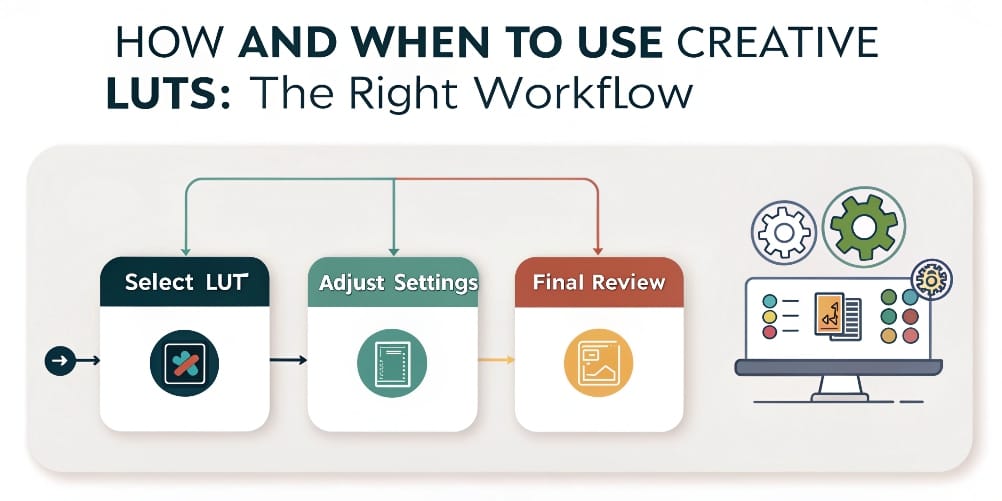
Here’s the #1 mistake we see ALL THE TIME:
❌ Shoot video → Open Adobe Premiere Pro → Apply LUT → Looks horrible → “LUTs don’t work”
The problem: They applied the LUT BEFORE doing basic color correction.
It’s like trying to paint a dirty wall. No matter what paint you use, the result will be bad.
This is the correct workflow we use at EdicionVideoPro for ALL our projects:
Step 1: Primary Color Correction (ALWAYS FIRST!)
Before touching any creative LUT, your image must be balanced and neutral:
- White balance: Make sure white is white (not blue or orange)
- Adjust exposure: Not too dark, not too bright
- Normalize contrast: Use the full tonal range (from black to white)
- Fix saturation: Not too dull, not too exaggerated
- Match clips: Make all shots look consistent
Goal: A clean, balanced, neutral image. Think of this as preparing the canvas before painting.
In both Adobe Premiere Pro (Lumetri Color panel) and Final Cut Pro (Color Board/Color Wheels), these tools are in the same location: ALWAYS before the node or layer where you apply the LUT.
Step 2: Apply Creative LUT (Optional But Powerful)
NOW, with your image already corrected, you can apply a creative LUT.
In Adobe Premiere Pro:
- Go to Lumetri Color panel
- “Creative” section
- Expand “Look” → “Browse”
- Select your lut file (.cube or .3dl)
In Final Cut Pro:
- Select your clip
- Open color inspector
- Go to “General” tab
- In “Camera LUT” or “Custom LUT” → load your file
Step 3: Adjust LUT Intensity (CRITICAL!)
This is super important and almost nobody does it:
A LUT at 100% intensity is almost ALWAYS too much. It’s like adding salt to food without tasting it first.
How to adjust:
- In Adobe Premiere Pro: After applying the LUT, use the “Intensity” slider (usually 50-80% looks more natural)
- In Final Cut Pro: Use the “Mix” slider to control intensity
- In DaVinci Resolve: Use the “Key” slider in the LUT node
Start at 100%, then gradually lower until the look feels natural and professional, not exaggerated.
Step 4: Secondary Adjustments (The Final Touch)
After applying the LUT, it’s normal to need small tweaks:
- A bit more exposure here
- Reduce red saturation
- Slightly darken shadows
- Adjust skin tones
This is completely normal and part of the professional color grading process.
Pro Tip from EdicionVideoPro: The best colorists create their own custom luts from their favorite grades. Once you perfect a look, you can export it as a LUT and apply it to future projects. This saves HOURS of work and ensures brand consistency.
Pros and Cons of Using Creative LUTs
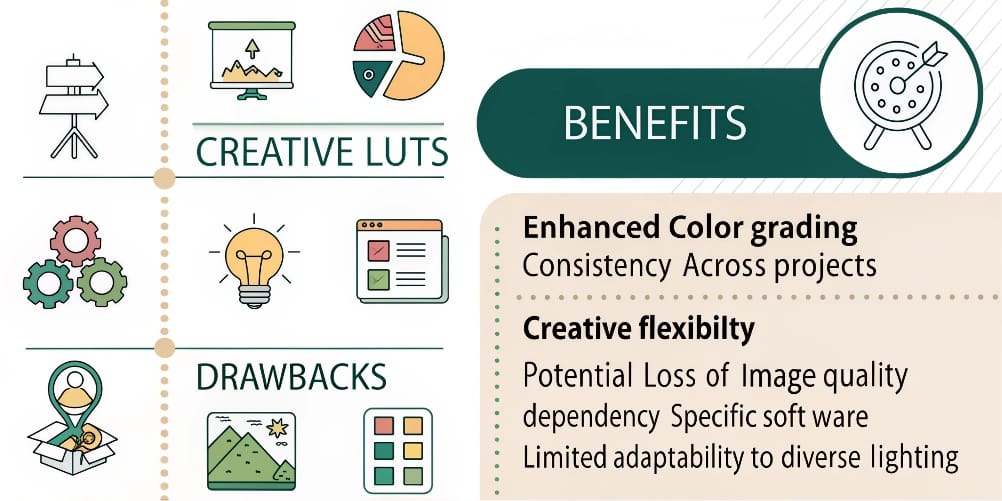
Let’s be honest: LUTs aren’t perfect. Here’s the complete truth:
✅ Advantages
- Quick starting point: Instead of starting from scratch, you have a solid foundation in seconds
- Visual consistency: Apply the same LUT to multiple clips and maintain the same look
- Learn by observing: Analyzing a good LUT teaches you how professional colorists work
- Massive time savings: A well-used LUT can reduce your color grading time by 60-70%
- Reproducibility: Save your favorite looks and reuse them across projects
❌ Disadvantages
- Won’t fix poorly exposed images: A LUT on badly shot material only makes it look WORSE
- Can destroy information: Used aggressively, it can “clip” (cut off) blacks or whites
- Generic results: If everyone uses the same free LUTs, all videos look alike
- False sense of “done”: Many apply a LUT and think they’re finished, skipping necessary adjustments
- Not all LUTs work the same: A LUT created for Log footage won’t work well on standard video (and vice versa)
Where to Get Quality LUTs (Free and Paid)
There are thousands of LUTs on the internet. The problem is that 80% are garbage.
Here’s where to find quality lut files:
Included With Your Software
Both Adobe Premiere Pro and Final Cut Pro include technical LUTs and some basic creative ones. They’re a good starting point.
- Premiere Pro: Includes Log conversion LUTs and some creative looks in the installation folder
- Final Cut Pro: Comes with camera LUTs (for converting Log) and some basic creative looks
Free Packages
Many content creators offer free LUT packs:
- Search “free cinematic LUTs” on YouTube
- Sites like RocketStock occasionally give away packs
- Many camera brands (Sony, Canon, Panasonic) offer free technical LUTs
Warning: Quality varies WILDLY. Test before using on real projects.
Professional Paid Packages
If you’re serious about editing, investing in professional custom luts is worth it:
- Colorist Factory: Premium LUTs used in Hollywood
- IWLTBAP: Specialized packs by genre (wedding, corporate, etc.)
- Gamut: Precise emulation of famous films
- FilmConvert: Real analog film stock simulation
Typical price: $30-$150 USD per pack of 10-50 LUTs.
Create Your Own Custom LUTs
Tools like DaVinci Resolve let you export your own grades as custom luts:
- Create your perfect grade on a clip
- Right-click on the node
- “Export LUT…”
- Choose format (.cube for maximum compatibility)
- Done! Now you can use that look in Adobe Premiere Pro, Final Cut Pro or any other program
EdicionVideoPro Advice: Before buying an expensive LUT pack, make sure you’ve mastered basic color correction. A $100 LUT on a poorly corrected image is still a poorly corrected image. Master the fundamentals first—the ROI on that knowledge is exponentially higher.
The 7 Fatal LUT Mistakes (Please Don’t Do This)
In our 10+ years of editing, we’ve seen these mistakes over and over:
1. Applying Creative LUTs BEFORE Correction
We’ve said it, but it’s worth repeating: this is mistake #1. It destroys your image and wastes your time.
2. Using Technical LUTs as Creative LUTs
Log-to-Rec.709 LUTs only normalize your image. They’re NOT final looks. After applying them, you STILL need to do your creative grade.
3. Leaving LUT at 100% Intensity
Almost always too strong. Adjust intensity between 50-80% for more subtle, professional results.
4. Not Understanding What the LUT Was Designed For
A LUT created for drone footage won’t work well on an indoor talking head. Read the LUT description before using.
5. Applying the Same LUT to EVERYTHING
Different scenes need different treatments. A LUT that works outdoors may look horrible indoors.
6. Using Incorrect File Formats
3D LUTs in .cube format are most compatible. If your program won’t read a LUT, it’s probably a format issue.
7. Thinking a LUT Does All the Work
A LUT is a tool, not a magic solution. Best results come from combining LUTs with manual adjustments.
Are LUTs Giving You Headaches?
Look, we get it. Professional color grading goes WAY beyond just applying presets.
At EdicionVideoPro, we provide completely customized correction and grading for every project. We don’t use generic internet LUTs. We create unique looks that make your content stand out and deliver measurable ROI.
Want your videos to have that professional look you see in high-level productions? Let’s talk. Our first 15-minute diagnostic is free.
LUTs FAQ
Are LUTs the same as Lightroom presets for video?
Conceptually yes, but LUTs are much more technical and universal. A Lightroom preset only works in Lightroom. A lut file works in Adobe Premiere Pro, Final Cut Pro, DaVinci, After Effects, even mobile apps.
Do I NEED LUTs to do good color grading?
No. The best colorists can create incredible looks without using a single LUT, using only color tools (curves, color wheels, HSL, etc.).
LUTs are an efficiency tool, not a necessity.
Do LUTs work the same on all footage?
NO! And this is super important:
- A LUT designed for Log won’t work well on standard video
- A LUT for Rec.709 video will look weird on Log
- The same LUT can look very different on overexposed vs. underexposed material
That’s why primary correction is SO important.
Which is better: 1D LUTs or 3D LUTs?
For 95% of cases: 3D LUTs. They’re more powerful and flexible.
1D LUTs only make sense for very basic tonal adjustments.
Are free LUTs any good?
Some yes, many no. The problem with free LUTs is:
- Inconsistent quality
- No technical support
- Sometimes created by people without professional experience
If you find a free pack from a respected creator, it can be excellent. But always test before using on real projects.
Can I create my own custom luts?
Yes! It’s one of the best professional practices.
Once you perfect a look for a client or project, export it as a custom lut (.cube) and you can reuse it. This is especially useful for:
- Video series with the same branding
- Recurring clients
- Your personal visual “signature”
LUTs: Powerful Tools, Not Magic Wands

After reading this guide, we hope you understand one fundamental truth:
LUTs are incredible tools when used correctly. They can save you hours of work and give you consistent, professional results.
But they’re NOT shortcuts to skip the fundamentals.
The correct workflow is and always will be:
- Shoot well (correct exposure, good white balance)
- Primary correction (balance and normalize)
- Apply creative LUT (if you want)
- Adjust LUT intensity
- Secondary correction (final refinements)
Whether you work in Adobe Premiere Pro, Final Cut Pro, DaVinci Resolve or any other program, these principles apply equally.
Start experimenting with the 3D LUTs included in your software. Learn to adjust intensity. Practice primary correction until it becomes second nature.
And when you’re ready to take your projects to the next level with professional, fully customized color grading, the EdicionVideoPro team is here to help.
Because at the end of the day, the difference between a “decent” video and a video that IMPACTS isn’t just in the LUT you use.
It’s in understanding exactly what to do with it.
Ready to take your color to the next level? Let’s talk about your project.

